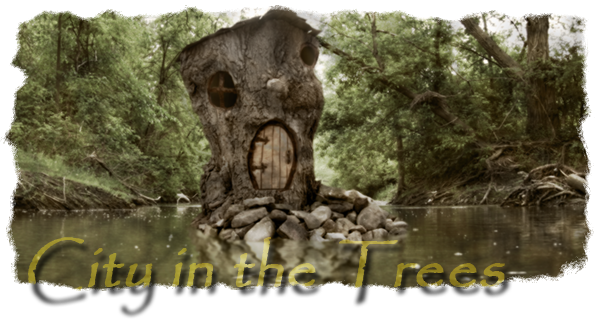

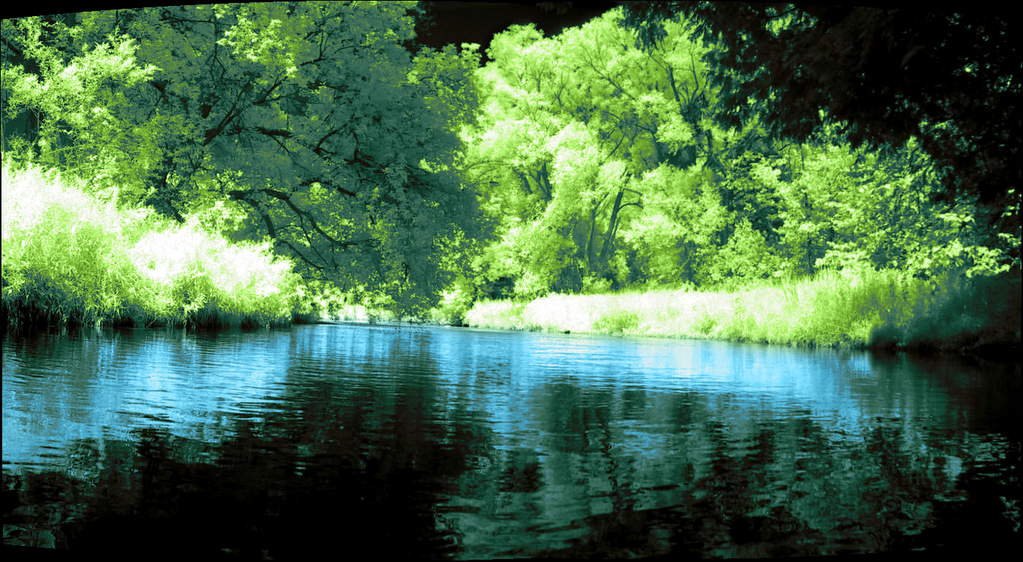
First, select one of your infrared images that you'd like to tint. This goes without saying, of course... just gives me a chance to vogue one of my shots. :)

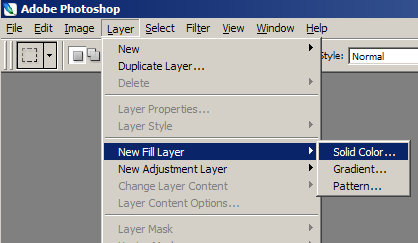
Select Layer > New Fill Layer > Solid Color.
The New Layer dialog opens. Make sure the mode is set to Color.

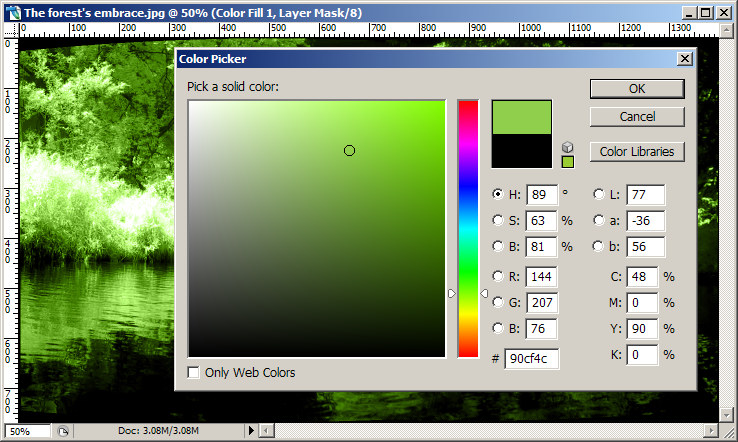
The Color Picker opens. Experiment with colours and click OK when you have something that looks initially eye-pleasing.
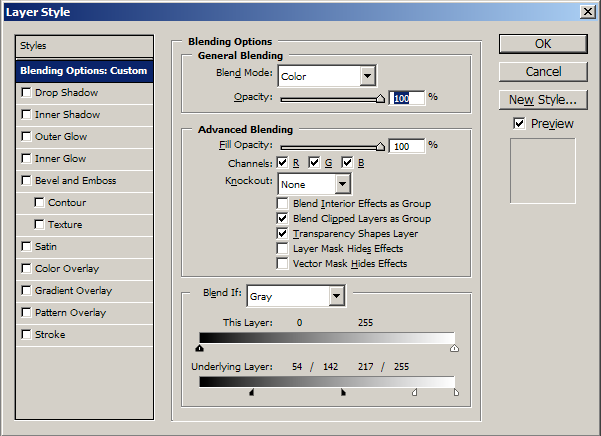
Double-click the new layer in the Layers palette. This will open the Layer Style dialog for that layer. Use the Underlying Layer sliders to customize the range of tone to which your chosen colour will be applied. The range between the right edge of the black slider and the left edge of the white corresponds to the range of tones to which the colour will be fully applied. Initially, the black and white sliders are each unified. They can be unlinked by holding down the ALT key and then dragging them. This establishes a more gentle, less abrupt application of the colour at either end of the tonal range. In the example below, the very darkest tones tones are excluded. Middle-range dark tones have the color gradually applied to them with increasing opacity. The range between the black and white sliders is that to which the colour fully applies. The range between the separated white sliders marks the range from full application, decreasing in opacity towards white.
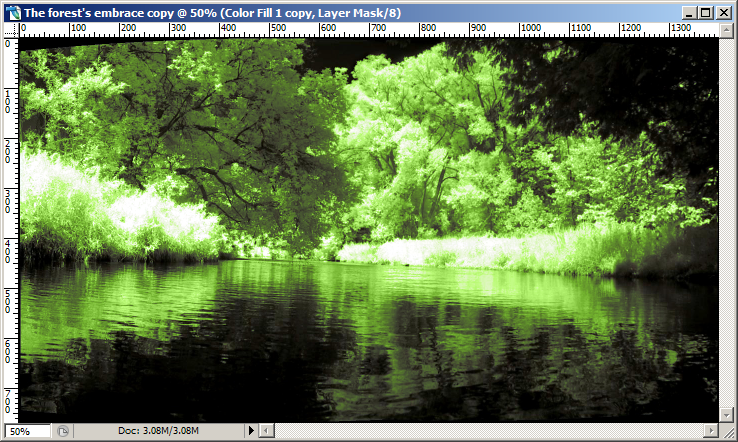
...Below is the result of the change in tonal application established in the previous step. Notice that they very darkest tones do not have the green cast applied, middle greys have the colour applied somewhat mutedly, and that as tones approach fuller whiteness, the cast is applied with less and less fullness as well.
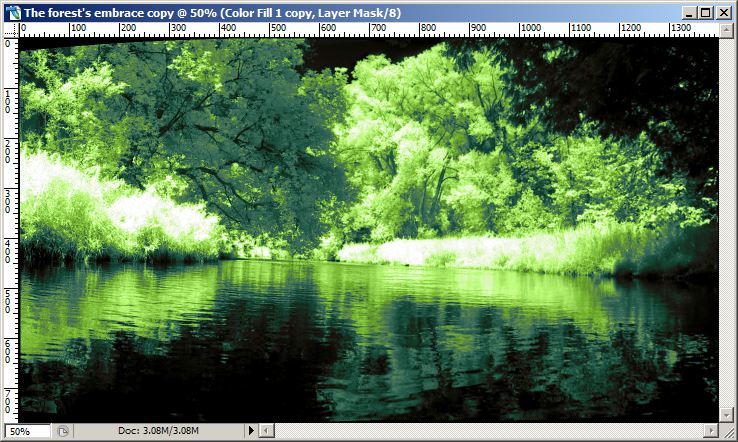
The quickest way to apply another colour is to simply copy the color layer by dragging it to the New Layer button at the bottom of the Layers palette. This will result in an identical copy layer being created above the original one. To change the colour in the new layer, double-click its colour chip, which opens the Color Picker for that layer. Any colour you select will, of course, simply overlay the previous one, since this layer's tonal application is exactly the same. Double-click the layer in the Layers palette to make changes to its Underlying Layer settings. In the image below, I chose a darker green, and moved the black and white sliders to the left to apply the new colour to the darker range largely neglected by the original layer.
Color layers, like all layers, can have their application masked. In fact, they're automatically created with layer masks. I decided I wanted the lighter tones in the water to be a different colour from the trees, so I clicked in the layer's mask area to make it active. Using the paintbrush tool, I applied black to those areas of the image I did not want the original colour to be applied.
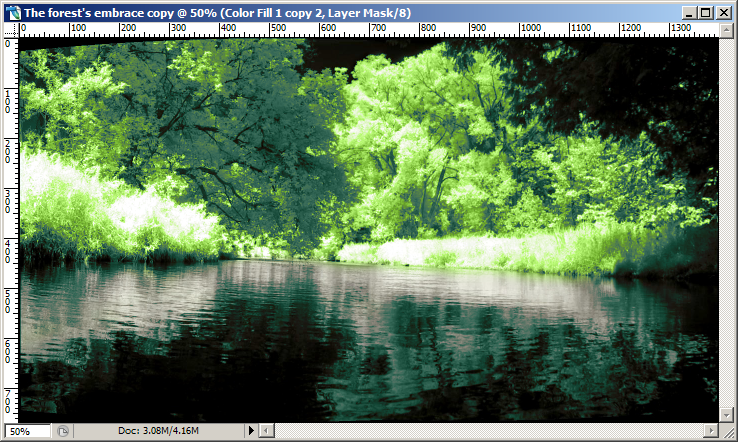
I dragged the original colour layer down to the New Layer button, which copied it. I changed the colour, selecting a pale blue, and then clicked in the mask area again to make it active. Since I wanted the blue applied to exactly the places in the image where the original green was masked out, I simply pressed CTRL+I to invert the mask. The blue was removed from the trees and applied to the water instead.
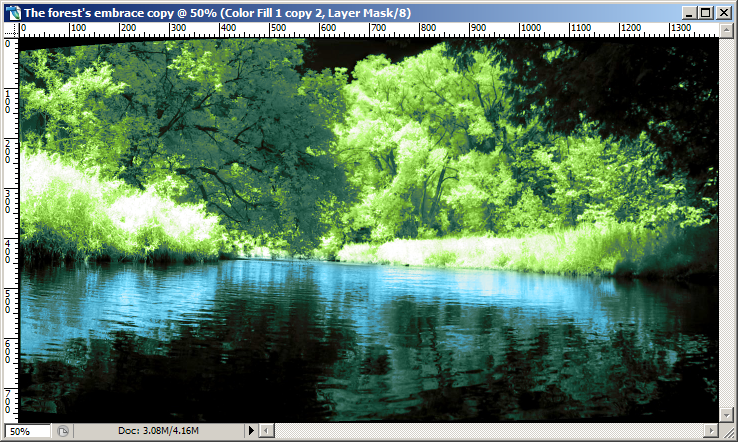
This is what the Layers palette looked like at this point.

Those are the basics of the PMC-IR technique. Obviously, more can be done; curves and levels can be applied to various layers to modify how the colours are applied, elaborate maskings are possible, as are subtler applications of colour to narrower ranges. But this, I'm sure, is enough to instruct you if you're inspired to give it a try. Hope so, because I think it's a really good use for the tonal ranges and unusual visions offered us by digital infrared photography. :)
No comments:
Post a Comment